I got home from Art and Soul (Virginia) on Wednesday and crashed into bed. What an exhausting, amazing... exhausting... experience it was! We drove down with a car packed full of supplies for my classes - I taught two on Thursday, and for Vendor Night on Saturday. Teaching was an incredible experience - the classroom had such a variety of students: artists, crafters, cancer survivors, art therapists, a mom and her teenage daughter... I'd like to make my "show" more portable so I can do more of these retreats. Note to self: not more than one class a day!! I was on from 8:30 that morning til ten that night. I got to talk to so many people and heard the most wonderful comments. I always wish I could bottle them up for when I feel like crap. :-) I also got to take some classes. I always vow that I will make time to do more of whatever I've learned, but... years go by. That's why these retreats are so important to me. They give me enforced time to just concentrate on one thng for a day and immerse myself in the making of things. Here's what I made!
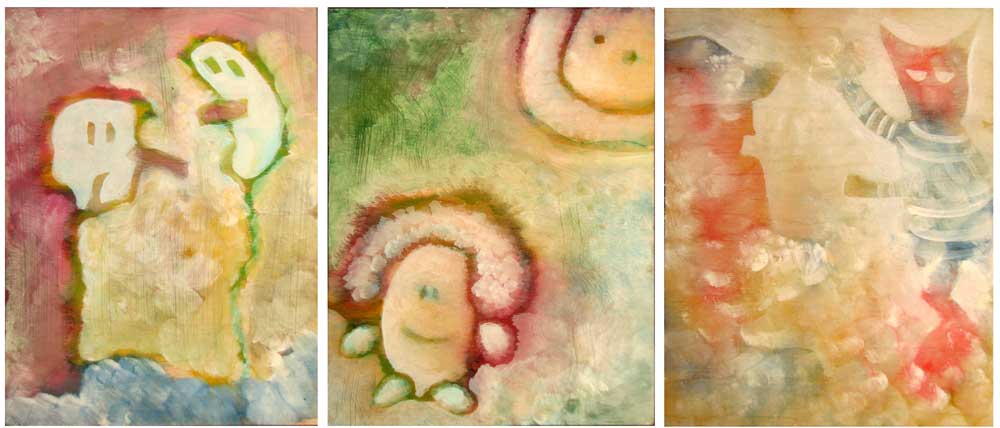
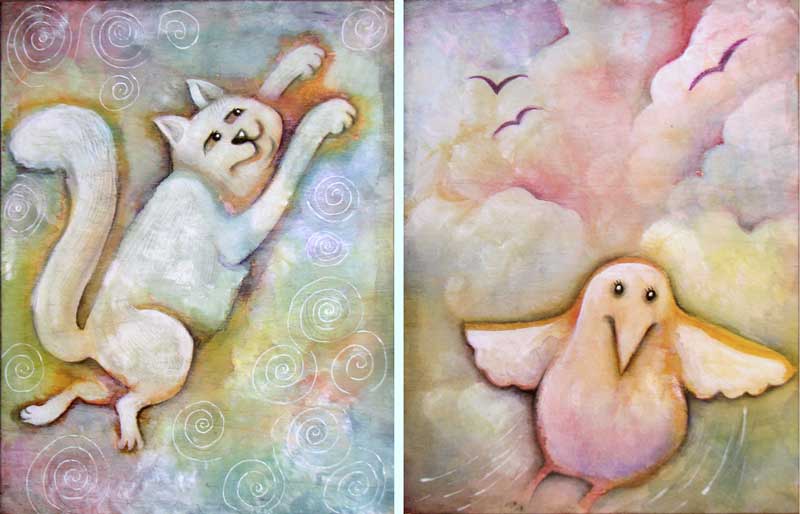
In Carla Sonheim's "Creatures on Wood" class we found creatures lurking in swirls and blobs of watercolor and gesso. I enjoyed swirling and blobbing so much - I made a whole bunch of panels, but only the cat and the bird are finished.
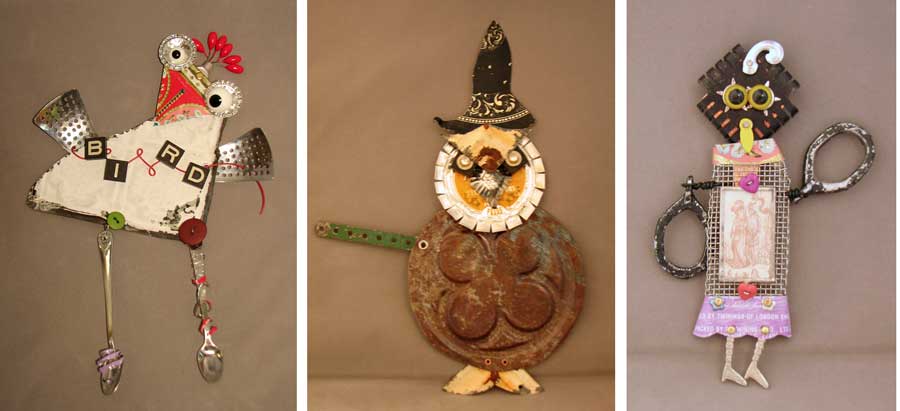
On Sunday, I took Leighanna Light's "Birds Gone Wild". During lunch, my husband came in and started "suggesting" what I should do with the various pieces of metal. I threw him out and said "Next year, YOU sign up and make your own!" It really was a lot of fun to snip and punch and hammer and then eyelet it all together. My metal junk formed itself into a Witch Owl (I still intend to hang little mousies from its wing), a Love Bird, and, my favorite, the Bird-Bird.
The last class, which my husband DID sign up for, was "Moldmaking 101" with Marcia and Ty Schulz. They were Hollywood prop makers and certainly knew their stuff. We made a ton of press molds which I have done gajillions of already (for polymer clay projects), but we also learned how to make two part molds - like a doll's body. That was really exciting because it's the kind of thing you can see in a book and never try because it looks confusing. But Ty walked us through it with great tips and we all gasped as we pulled our castings out of the rubbery stuff. And we got to use a casting resin too. The possibilities are endless (sigh - something else I NEED to play with!).
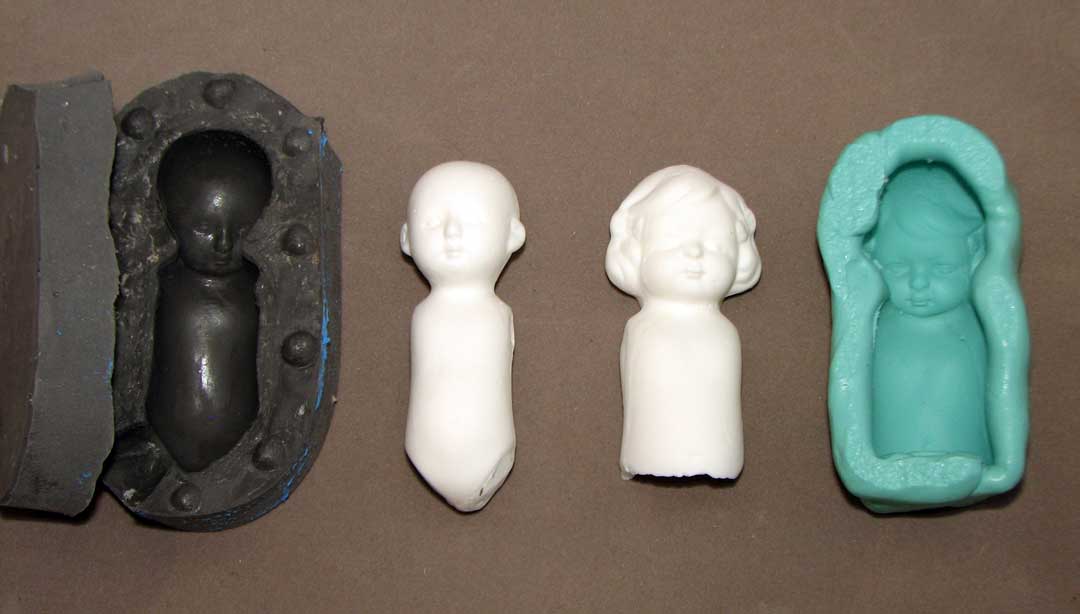
This first photo shows the two-parter on the left and the push mold on the right. The castings, in the middle, had the feel (but not the weight) of porcelain. While pouring the liquid rubber (for the 2-part mold), scenes of Star Wars and Han Solo flashed through my mind as the black stuff flowed over the dolls face. Creepy!
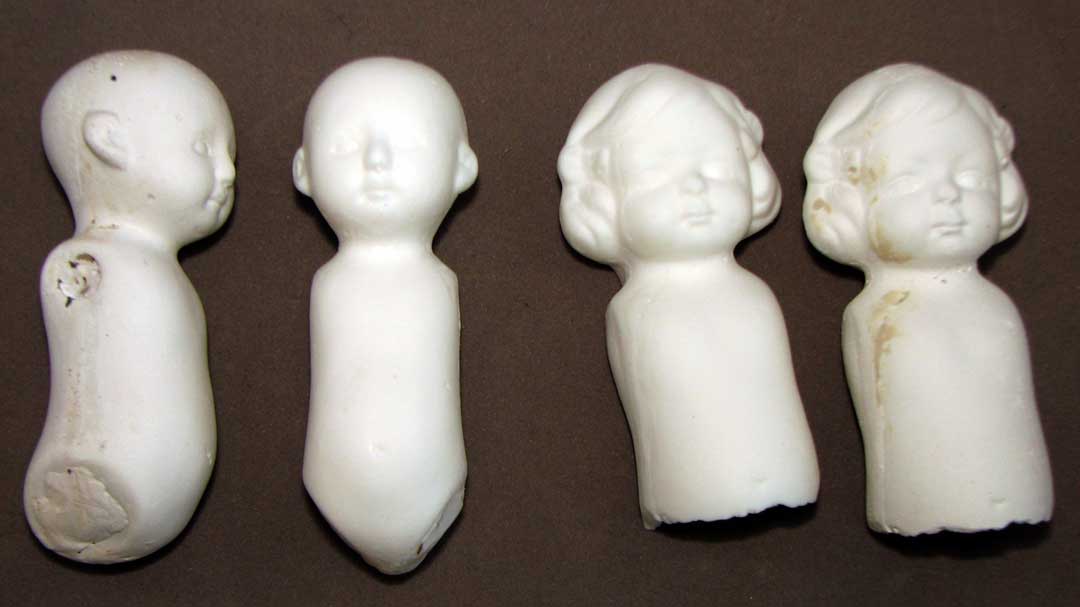
This second photo shows the originals on the far left and far right and the castings in the center. The originals had been cast with plaster and were very delicate and had many flaws and air pockets. I was able to fill the flaws with clay, so the castings were lovely and smooth. When they come out of the mold, they are still a bit flexible and you can cut parts off or make holes, etc. Then they harden up.
Oh such fun!!
Subscribe to our email newsletter and unlock access to members-only content and exclusive updates.
Comments